
SIMPLE TIPS
The age of digital cellphone photography and cheap digital cameras has turned everyone into a photographer. Pro-photographer Chase Jarvis says, “The best camera is the one that’s with you. Images aren’t about dynamic ranges and megapixels. They’re about stories and moments.”
But just because you have a big expensive DSLR doesn’t mean you’re a great photographer. Neither does a small point-and-shoot camera automatically make you a bad photographer. Simply put, good photographers find themselves in the right place at the right time.
Always be active. You bought your camera, you brought your camera, now use it to its full potential. If someone could just take a photo of that really cool-looking statue just once and have it turn out great, we wouldn’t need massive amounts of memory cards on the market. Keep taking photos from different vantage points, up in the air, on the ground, slightly to the left, slightly to the right—anything, really.
Be your own critic. Just because you took 20 photos of that statue doesn’t mean you have to show your friends all 20. Be your own critic and choose one. If it’s too hard to choose just one, pick your favorite three, then narrow it down a couple days later.
Zoom with your feet, because it’s better than using the optical zoom, and God forbid you use the digital zoom. This forces you to move around the subject and hopefully find new vantage points.
Treat your camera like a personal visual diary. Record whatever you think is meaningful in your life, not what you just had for dinner at that really nice restaurant.
The reason why those Facebook photos look typical and normal is because they were shot in the perspective of the human eye. Interesting photos are those shot in the perspective of the camera. Fill the frame to give more depth in the photo, and to reduce eye-distracting clutter.
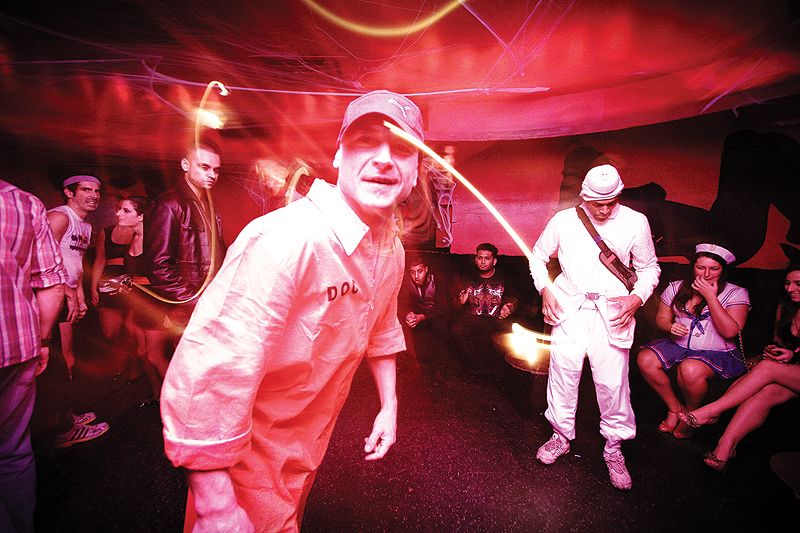
Try to do some of the legwork in the camera settings. If all you have is a point-and-shoot, there are probably some basic “scenes” you can choose from. Turning the flash on and off is usually another option. Adjust your scenes accordingly, and try to leave the flash off. Diffuse light is more pleasing to the eye then your puny on-camera flash. However, there are opportunities when you want to leave the flash on for the rawlook.
Manual settings
(for DSLR/advanced users)
The first step towards that direction would be to dial the camera settings to manual. That’s right, you’re actually going to have to use your brain when taking photos. Because no matter how sophisticated computers get, they will never understand the nuances of human thought and sure as hell can’t read our minds. So, we have to tell the machine what we want, and not settle for any of that “little green box” crap.
The basic building blocks of photography are shutter speed, aperture, and ISO. Each one of these blocks has their own unique characteristic (and trade-off) which will, simply put, make an image brighter or darker. How the photographer combines these building blocks is what makes or breaks a photo.
Shutter Speed
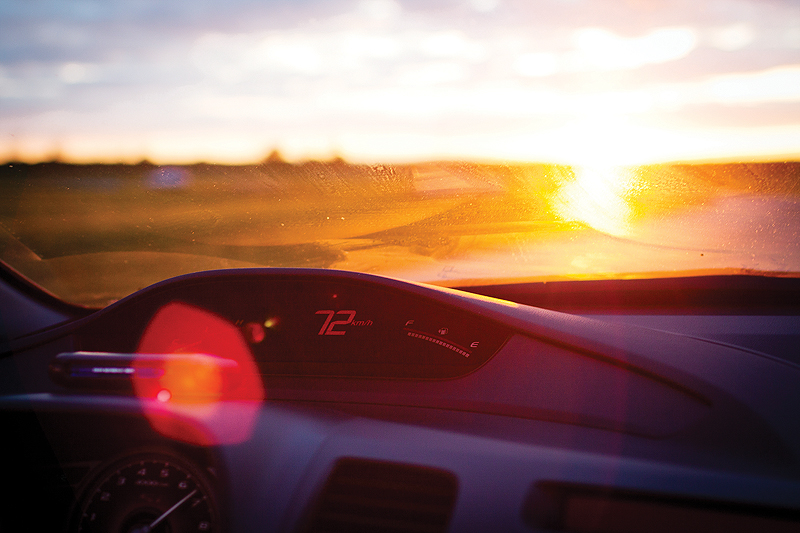
Shutter speed is the time between when the shutter opens and closes.
This action can range from 1/2000th of a second, to minutes, to hours. The faster the shutter speed, the more accurate the camera is at capturing fast-moving objects. The trade-off is that less light will be “absorbed”, resulting in a darker picture. One way to think of this is to look up in the night sky. At first glance, it may seem empty and dark, but as you keep staring, your eyes absorb light from the stars, and they seem to get brighter.
Aperture
Bokeh, the Japanese term for “blur”, is the fine art of subject isolation. This shallow depth of field is achieved by using the aperture opening of the lens. When light first travels through the glass of the lens, it must go through a user-adjustable opening before it hits the sensor (or for all you vintage fans, film). This opening before the sensor (or film) is called the aperture. Like all other openings, it can be wide or narrow. The size of the exact diameter of the opening is measured in f/stops. F/stops range from f/1 to f/32.
The lower the number of f/stops, the wider an aperture is, the more light is let in, and the shallower the depth of field. The higher the number of f/stops, the narrower an aperture is, the less light is let in, and the deeper the depth of field.
Think of your trips to the optometrist, when they shine the light in your eye. They’re looking for a constriction in your pupil, which tells whether the brain is properly sensing the “brightness overload” and narrowing the “aperture” of your eye. On the other end of the spectrum, widening the aperture is like how cats enlarge their pupils in the dark, allowing more light to enter at once so it can still see.
ISO
ISO speed is the sensitivity of the sensor (or film) to light. The ISO on standard SLR cameras can range from 100 to 32,000. By raising the ISO, the sensor is more sensitive to light, resulting in a brighter photo. This is equal to making a photo artificially brighter in post-processing (Photoshop, GIMP, etc.) without affecting the aperture size or shutter speed. The trade-off for this is that the more sensitive the sensor is, the more “noisy”, or grainier, the photo.


